How to set up a home theatre, like a professional

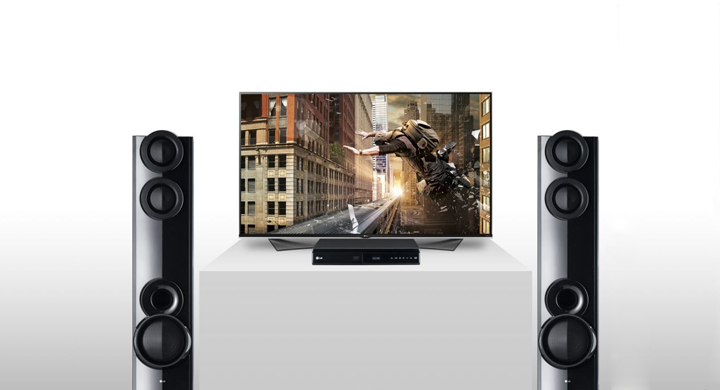
So you just got your brand new A/V receiver and some surround sound speakers. Why would you pay someone to install it when you can save money and easily do it yourself? Well, you wouldn’t be reading this if you wanted to hire a professional, so let’s just get right to it.
Getting everything ready
Basic installation doesn’t require many tools. Your main weapons would be a wire cutter/stripper (important), a flashlight so you can see what you’re doing and a laptop or tablet so you can check out some how-to videos, if you’re unsure how to get around to certain suggestions below.
Many receivers don’t come with manuals, you’d usually have to find their documentation online. However, most do come with a quick-start guide that covers the basics to get you set up.
So before everything, have a quick glance at your quick-start guide and follow the tips below. You can then plan your shopping list for this project as everything will be a lot smoother and quicker when you have everything before you begin.
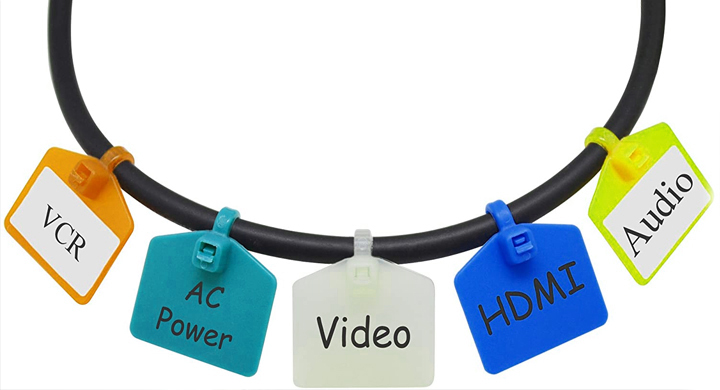
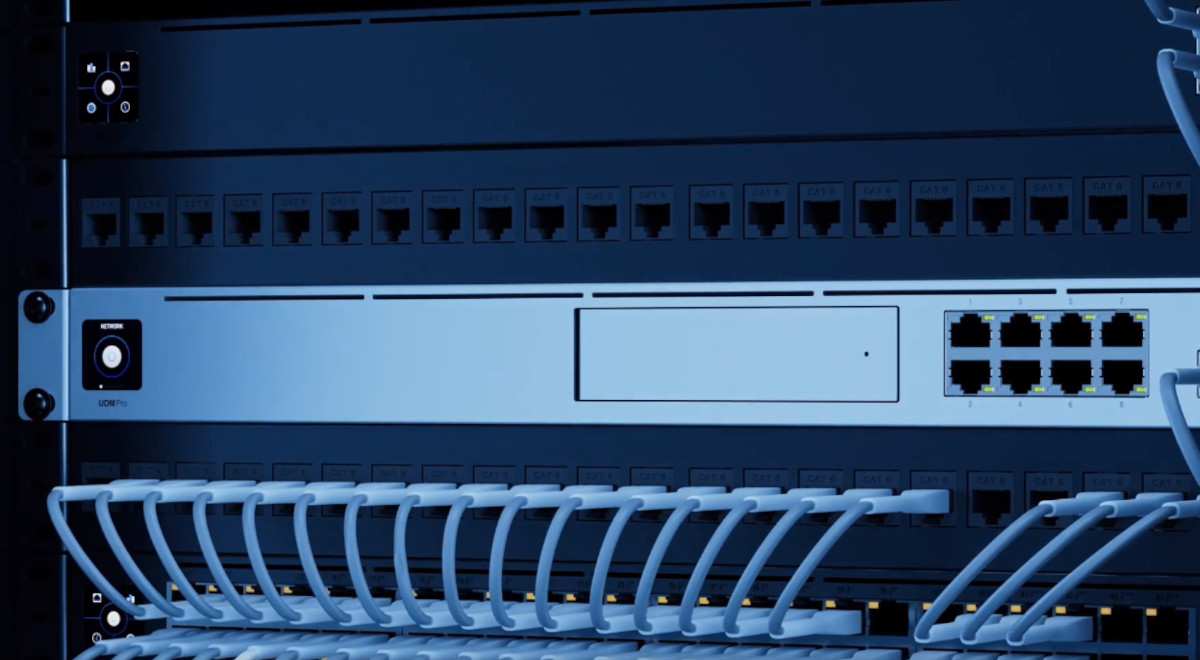
Label your cables and speaker wires
Labels are an easy way to keep track of what goes where. At some point, you may have to or want to move the system or even replace something. When that day comes around, you’d be kicking yourself that you didn’t start with labeling them. It’s an inexpensive solution and would definitely help in the long run.
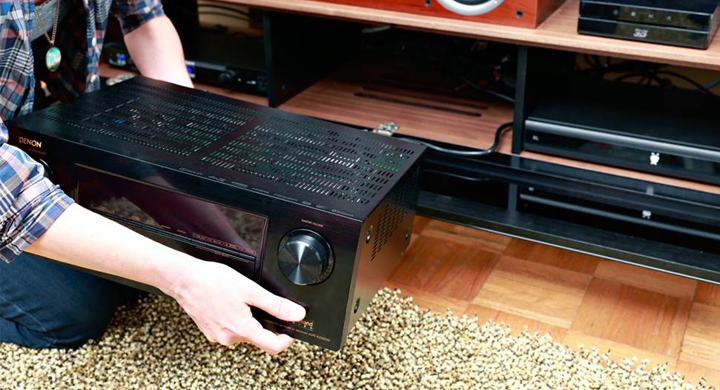
Where will the receiver go?
You’ll want a spot that nice and ventilated. You’ll also want to make sure you have easy access to the connections at the back in case you wanted to take any chances down the track (or for troubleshooting)
Placing a receiver in a cabinet
Make sure you leave some breathing room above your receiver. You’ll want it to be ventilated. However, if case you want to have the receiver hidden, we do recommend doing some research in regards to the furniture and find something that will give it enough breathing space while also allowing it to hide.
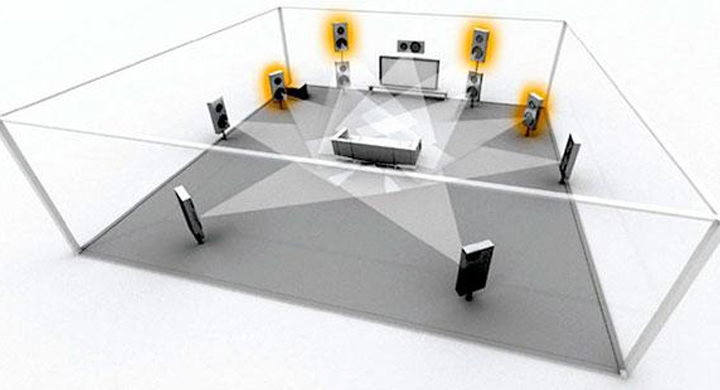
Where will the speakers go?
Speaker placement is extremely important, depending on the size of the speakers, the size of your room, and a number of other factors, it may affect the way you hear the speakers. If you’re unsure about where your speakers would be placed, we recommend checking out our speakers guide here for more information.
So map out the locations of your speakers, then take some measurements to determine how much speaker wiring you need.
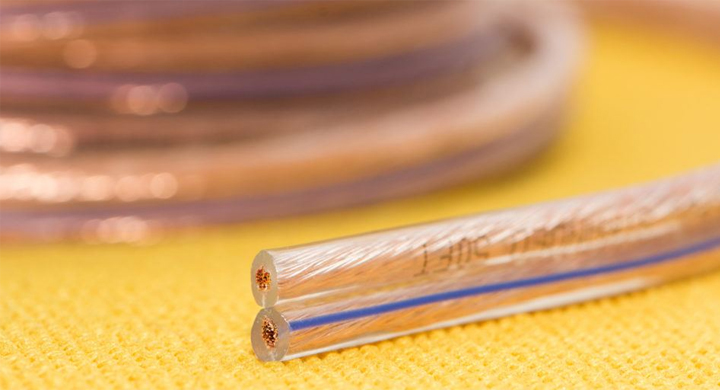
How much speaker wire will you need?
Once you’ve got an idea of where your speakers and receiver are going, you can then figure out how much speaker wiring you’ll need to each from the speakers to the receiver. The easiest way is to use some measuring tape. Try to run it along the wall and not cut through the middle of the room, so you a better understanding of how much you need. If you measure through the room, you won’t be able to get good cable management and your cables will have to be all over the place and harder to hide.
Want to hide the rear speaker wires?
Well, you’ve got 3 options here which we’ll explain below:
- Flat wire is a very good option if you’re looking to run it under the carpet. However, if the floor gets high-activity (stepped on a lot), this could damage the cables.
- Raceways (also known as cable tunnels) are extremely useful in regards to hiding wires, without having to drill any holes in your wall.
- You can also conceal wires behind your walls or baseboards.
Speaker connections
Setting and preparing speaker wires can be a tedious task, but it’s best to take your time and do it right, after all, you may not need to touch or see the cables for years to come.
If you’re looking to connect the bare speaker wires, it can be a frustrating job. You’ll be making at last 10 different connections in a crowded pack of inputs. If a single stray wire strand gets loose, it could short circuit which would result in the receiver shutting down.
The easiest way around this is to buy a bunch of banana connectors, which would require 4 per speaker wire (two on each end of the wire). A 20-pack of these will be enough to cover both ends of a 5.1 speaker system.
Banana plugs may take a little time and effort but are very well worth it.
How to put banana connectors on your speaker wires:
- Split the wire down the middle
- Trim the insulation from both the wire ends
- Then simply attach the connectors to each wire end.
If you’re unsure how to attach these to the wire, we do recommend jumping onto YouTube, typing “how to install banana connectors” and you’ll fund 100s of videos to assist you. This is where your laptop or tablet comes in handy.
You’ll just have to match the colors on the connectors which are usually black and red, to the colors or marking on each side of your speaker wire. It’s important to be consistent so you maintain proper polarity.
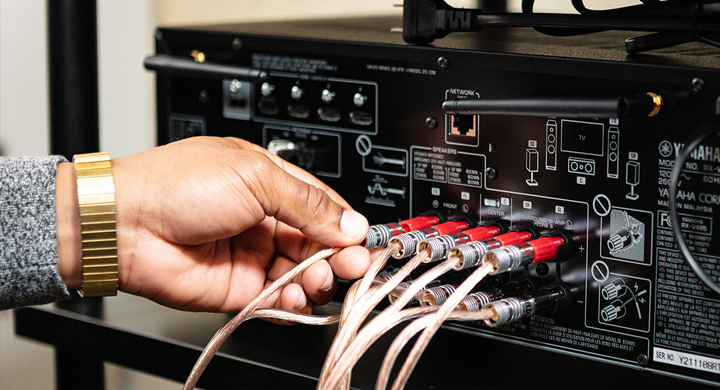
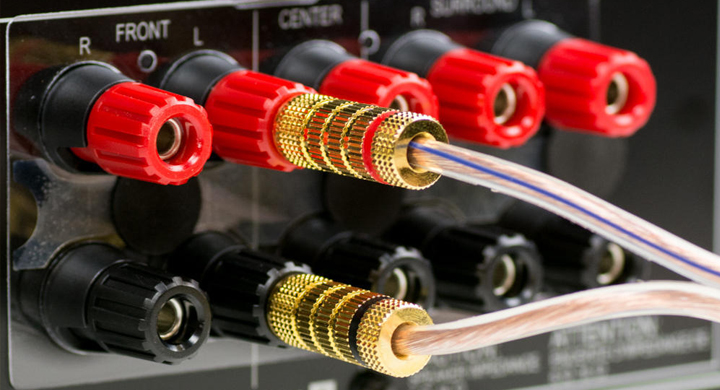
How to connect your speaker wires to the receiver
Make your speaker connections before you plug in your receiver’s AC power cord. If you need to re-do any of the connections, first turn off and unplug the receiver.
Connecting speakers to the back of a receiver
As you plug the speakers in, match the colors on the connectors to the colors on the speaker input terminals. This is pretty straightforward once you’ve installed the banana plugs.
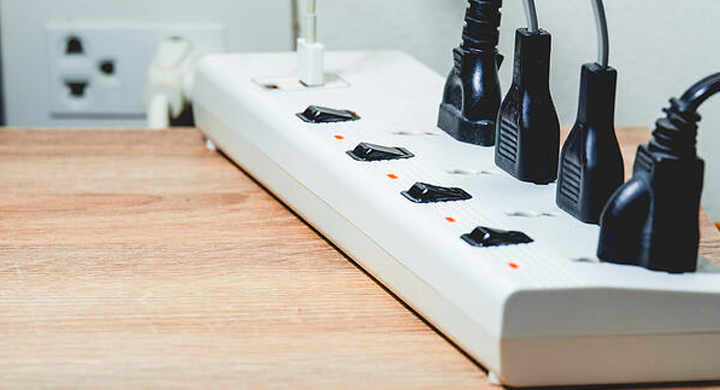
Power connections
A/V receivers and speakers systems don’t come cheap, so you’ll want to protect your investment. We don’t recommend plugging your equipment into an AC outlet or a cheap power board. It’s best to get a quality surge protector so that in the event of an electrical surge, your system doesn’t get fried.
In our opinion a surge protector is a must, the only thing you should make sure that when purchasing one is that you have enough outlets on the surge protector to plug in all your equipment. A good quality one will also eliminate the sound you’d get out of an AC outlet, resulting in much crisper and cleaner audio.
TV and component connections
You’ll need to make sure all your AV cables are the right length first, you don’t want to short-cable yourself.
If you don’t have easy access to the back of your cabinet where your receiver is, then you’ll need to attach the cables to it before sliding the receiver back in place, this means you’ll need slightly longer cables. Try not to go for an exact measurement, give yourself, maybe, an extra meter or a little less just so you have that extra breathing space and nothing is “stretching”. You don’t want to be short because that’ll just waste your time and you’ll have to get some more cabling.
Frequently used cables you may need
Make sure you have:
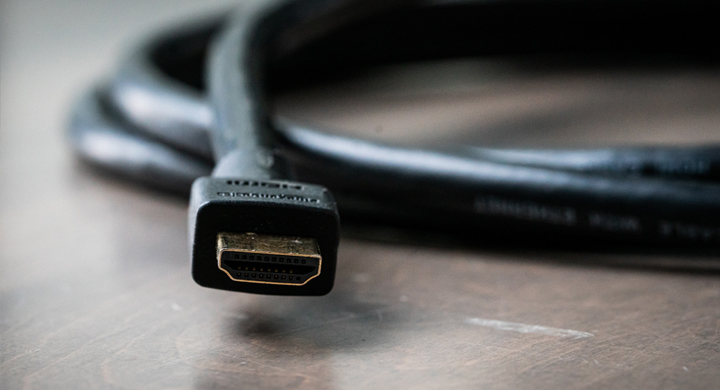
- HDMI cables to connect the receiver to your TV, set top box, game console, sound bar, or whatever you’ll be connecting to it via HDMI
- RCA cables for analogue audio connections
- Optical or coaxial cables for the digital audio connections.
Connect your TV first
These days receivers have on-screen guides that would walk you through the setup. Which is why it’s important to set up your TV first. Use HDMI output 1 or the “Main” output on the receiver and then into your HDMI port on the TV. If your TV has HDMI-ARC (Audio Return Channel), you’ll be able to control the receiver via ARC HDMI as well. So once you turn off the TV, the receiver will turn off and vice versa.
If you’re using your TV to tune into channels or streaming apps that come in-built into the device then it’s best to connect them to the ARC HDMI port.
If your TV doesn’t have an ARC input, then you can connect an optical digital audio cable between your TV and the receiver. You’ll still need an HDMI connection for the video signal though.
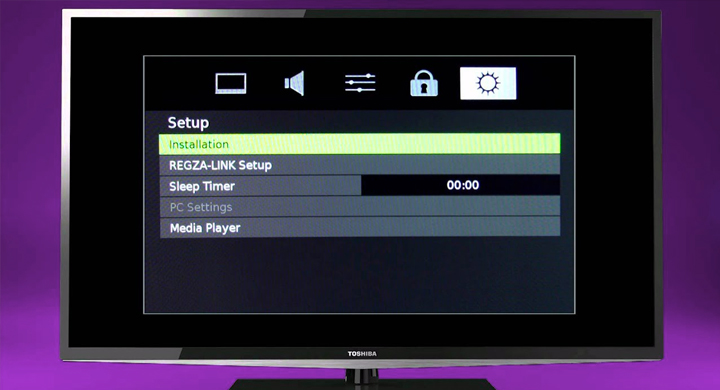
To connect your components, follow the onscreen guide
You may not even have to read the manual considering many receivers have on-screen setup information or via an app. You connect the receiver to the TV and follow the instructions as they appear on your TV or through the app.
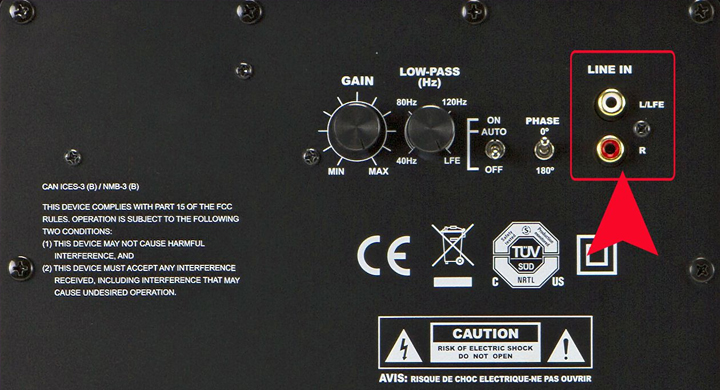
How to connect your powered subwoofer
This is actually pretty straightforward. Run a subwoofer cable from the sub output on the receiver to the subwoofer’s LFE input. However, there are wireless solutions, which would require a wireless connection kit.
Setup and finishing touches
Once you’ve got everything connected and ready to go, it’s time to fine-tune the system to your liking. This is where reading the manual may help.
In saying that, some manuals may be over 100 pages long, however, it’s worth it to at least skim through it one time. You may find some surprising features or settings you weren’t aware of that’ll enhance your experience.

Speaker calibration
Most receivers come with auto-calibration to fine-tune the sound, which is worth checking out.
Here’s how it works:
The receiver sends test tones to a microphone placed at your seating location. Then the receiver automatically adjusts the volume and timing of the sound coming from each speaker. You get perfectly balanced and time-aligned surround sound. You don’t want delayed sounds to each speaker so it’s important to have them calibrated.
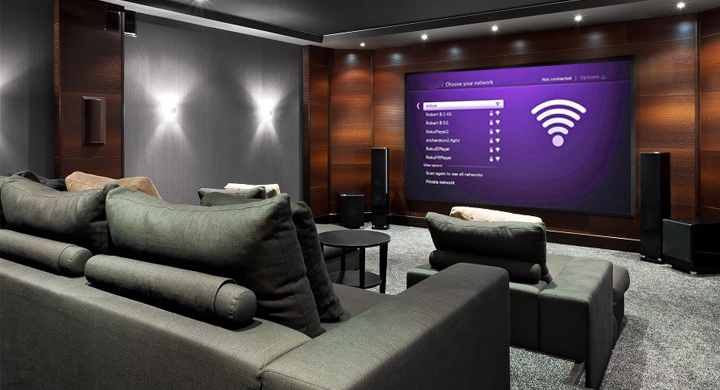
Network setup
Not all receivers have network functionality. However, in most cases, modern ones do. It’s really simple to set this up basically the same way you connect your laptop or phone to Wi-Fi, however, if your router has WPS (Wi-Fi Protected Setup), all you have to do is push those buttons on each device to connect it.

Remote control and ease of use
There are a number of wants you may be able to control your receiver. Now that it’s all hooked up, you can think about how you want to use it. The remote they come with have tons of buttons, so it may get a little confusing or frustrating to get used to. These days you can make it a lot more user-friendly.
If your receiver brand offers a remote control app, then it’s worth checking out as it’d simplify a lot of things and you won’t have to search for the remote in the dark if you’ve got your phone handy. If you have multi-room audio and video then an app would make it much easier to switch sources and control the streaming services from any room in your house.
Many receivers come with “scene” buttons, which are basically pre-set for specific activities such as watching TV, listing to music, etc. One button press allows you to select the source and all the settings you need for that specific activity. These are extremely useful for guests, people who aren’t tech-literate, or anyone just unfamiliar with your gear.
All of these scenes are pre-programmed but you can easily edit them and even create new ones that would suit you.
Another option is if your receiver has network capabilities, then it’s most likely capable of being controlled via your home smart assistant like Google Home or Amazon Alexa with voice commands.
Alternatively, a universal remote will solve all your needs, you can connect it to the TV, receiver, your smart lights, almost anything in your home
A universal remote takes the scene button concept to the next level. You can sequence commands to multiple components, including your TV, under a single button press or voice command.
Try the DSP settings
Digital signal processing (DSP) effects come included in many receivers. The idea is to simulate the acoustic properties of the different move environments and live music venues. This is something you should test out as some may be very fun and engaging or they would sound extremely strange to you.
If you have these options, there’s no harm in giving them a try, you may find a setting you really like and you can then easily make that into a “scene” and access it with just a click of a button.

Compressed music enhancement
Internet radio or streaming services like Spotify for example can have lower quality digital music, resulting in dull and lifeless sound. Many receivers have a special setting for this, in particular, to make them sound fantastic and again, can be assigned to a “scene” button.
Dialog lift
If you’re having trouble hearing what people are saying on your favorite show or movie, then see if your receiver has a special setting that allows you to boost the level of the sounds in human vocal ranges.
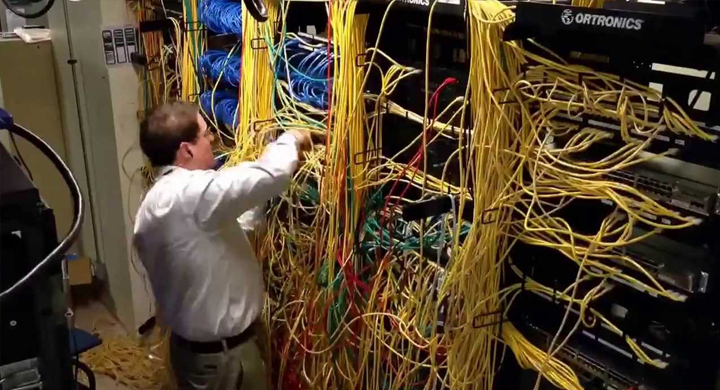
How to tame the wire mess behind your receiver
There is a number of ways to keep your cables managed and neat. After all, you don’t want them all over the place. We recommend checking out our home theatre cable management article which you can find here to tame the wire mess.
If there’s anything we had missed or you’d like more information on, please don’t hesitate to contact our staff at Wireless 1.
Checkout our A/V receiver range here
About the Author