How to set up a NAS drive (Network-Attached Storage)

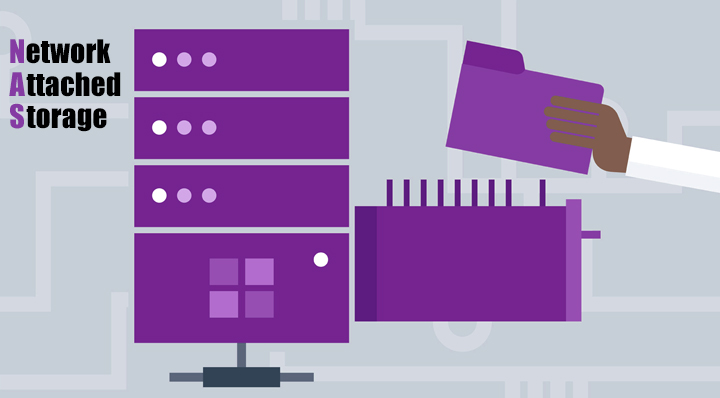
NAS stands for “Network-Attached Storage.” It’s a way to attach a hard drive to your home (or office) network and make it accessible to all your devices that are connected to the network like a centralized file-sharing service for your network and/or you can use it for backups.
If you use a remote file server you can use your NAS to make files available to you over the internet.

Dedicated NAS Devices
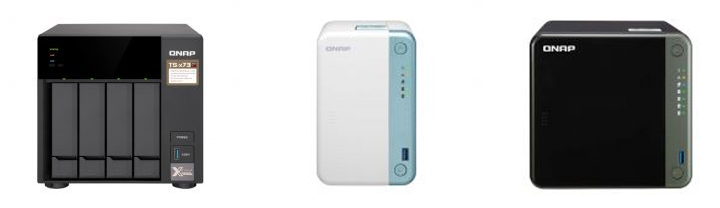
The easiest way to get a NAS is to purchase a pre-built, ready-to-use NAS device. If you search our website for “NAS” you’ll find many different makes and models. Some may be marketed as a home file server and some as media servers, however, all function the same. These devices have built-in hard drives. They also come with basic server software that you can connect to your Wi-Fi or wired network to provide a NAS file server. Since these are all-in-one solutions, you’ll just need to buy one, plug it in, set it up and you’re ready to go.
These devices are generally controlled through a web interface, just like your modem/router. From there, you can access files using a variety of different applications and even run some software on the NAS itself, such as a media-server solution for streaming media or a Bit Torrent client for downloading directly on the device. There are also many types of backup software you can utilize if that’s the application you’re looking to use the NAS for.
Routers with USB Ports
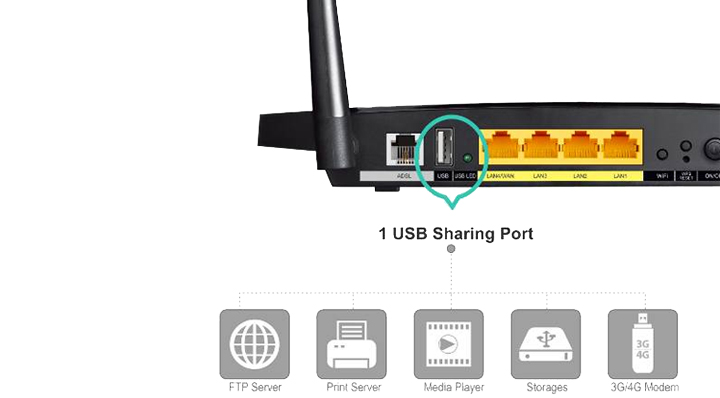
It’s rare to find routers with in-built hard drives, those can be utilized as a NAS. However, much harder to come by than your average router with a USB port. You can plug an external hard drive or even just a small USB flash drive (if you’re using it heavily, we don’t recommend using a flash drive) into the USB port of the router. Most routers have built-in NAS software which you can access through your router's web interface, which exposes your router to the network as a NAS. Once you enable this, you’ll just have to set it up and you’re ready to go.
For Apple users with the standard AirPort Extreme wireless router works this way, it offers a YSB port where you can connect external drives to it. In saying that, there are many routers on the market, even some of the low-end ones that provide a USB port and you can use that port to enable it as a NAS.
This is a very good option, however, is a little bit slow if your router has a USB 2.0 port or the hard drive/USB you’re connecting is also USB 2.0. You’ll be able to get much faster speeds on USB 3.0 compared to the earlier version, so if you have that option, always do that.
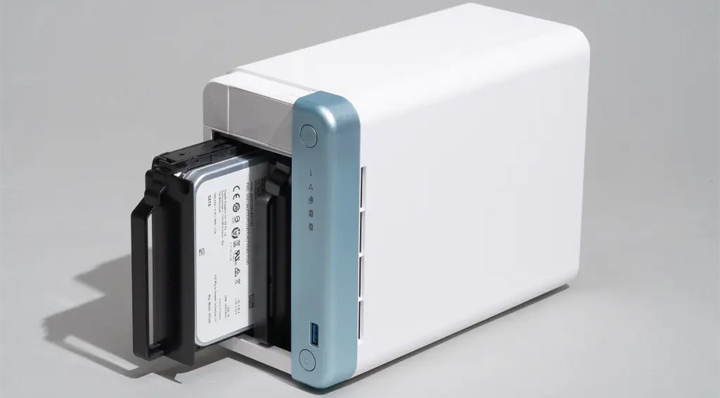
Network-Attached Drive Enclosures
If you don’t want to buy a pre-made NAS or use your router as a NAS, you can always try a network-attached drive enclosure. These are dedicated NAS devices with appropriate server software that specifically designed to be connected to a network. They generally don’t come with any in-built drives though. You’ll need to buy an HDD (or multiple) separately and insert them into the NAS to get the storage you’ll need to use it. These are called hard drive bays or HDD bays where you can install a 3.5” HDD of your choosing.
This can potentially be a cheaper option if you get a good deal on the HDDs. If you already have some old ones lying around, you can use those for your NAS instead. These types of NAS are very convenient as you can add and remove storage as you wish.
If you're after a NAS, please check out our range here.
About the Author